
 I found an old piece of trim in the basement and upcycled it into
a lesson plan board. I got the idea after seeing a menu planner board on Pinterest that is for sale on Etsy.
I immediately thought it would be a great
lesson plan board.
I found an old piece of trim in the basement and upcycled it into
a lesson plan board. I got the idea after seeing a menu planner board on Pinterest that is for sale on Etsy.
I immediately thought it would be a great
lesson plan board.
I often bury or misplace my lesson plan book in the course
of the day. This year I will be teaching six periods of Reading and I know the same kind of chaos
will plague me! My plan is to write some breif notes about my lesson on these cards. I can take the card off quickly if I need to refer to it during class and it has a specific spot to return it to when I am finished. Students can also look at the board instead of asking me what we are doing in class.
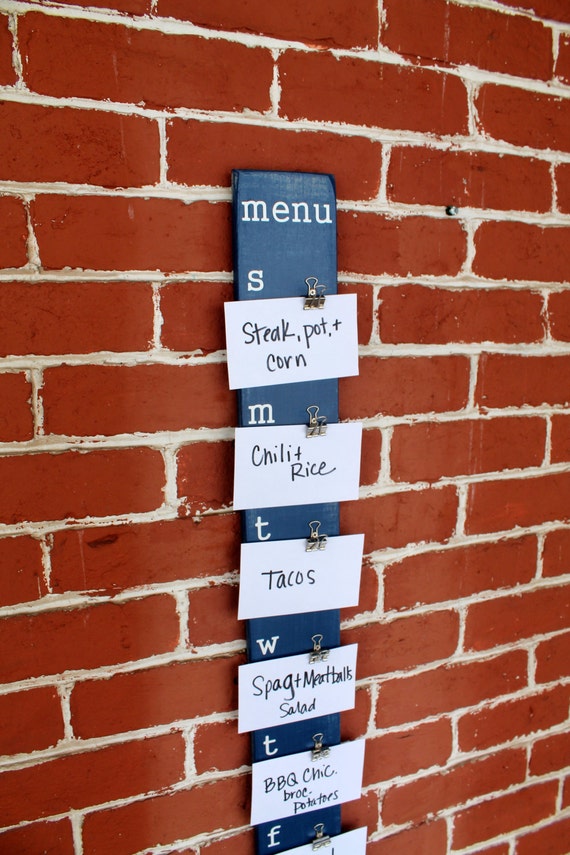 |
| Inspiration for Lesson Plan board |
For this project you will need:
1 board
Alphabet stickers
5 cup hooks
5 Binder Clips
Index Cards
Below is a picture of the piece of trim I used. It fell off the blind and the plastic piece that held it on was broken. Since I have a window topper covering the top part of the blinds I don't care about this piece of trim. I chose it becasue it is already painted and ready to use. Any scrap piece of wood would work. This is just what I had available.
 |
| Window Blind Trim |

 |
| Cup Hooks Added to trim |
After the hools were in place I added the days of the week. I used a really old set of alphabet stickers from my stash. I learned a trick a few years ago from my friend Kathy. Stick the letters onto a piece of plastic before putting them on the project. Place the stickers so about 1/2 of each letter is off the plastic. (I keep blank pieces of plastic from packages of stickers or double sided tape for this purpose.) This allows me to line up the letters and get the placement just right on the project. I then placed the stickers above each cup hook. It isn't perfect but I works for me. I wanted to add some rub-on flowers but I didn't plan out space for that I don't have the space for it. Something to consider if I ever make another one!
No comments:
Post a Comment